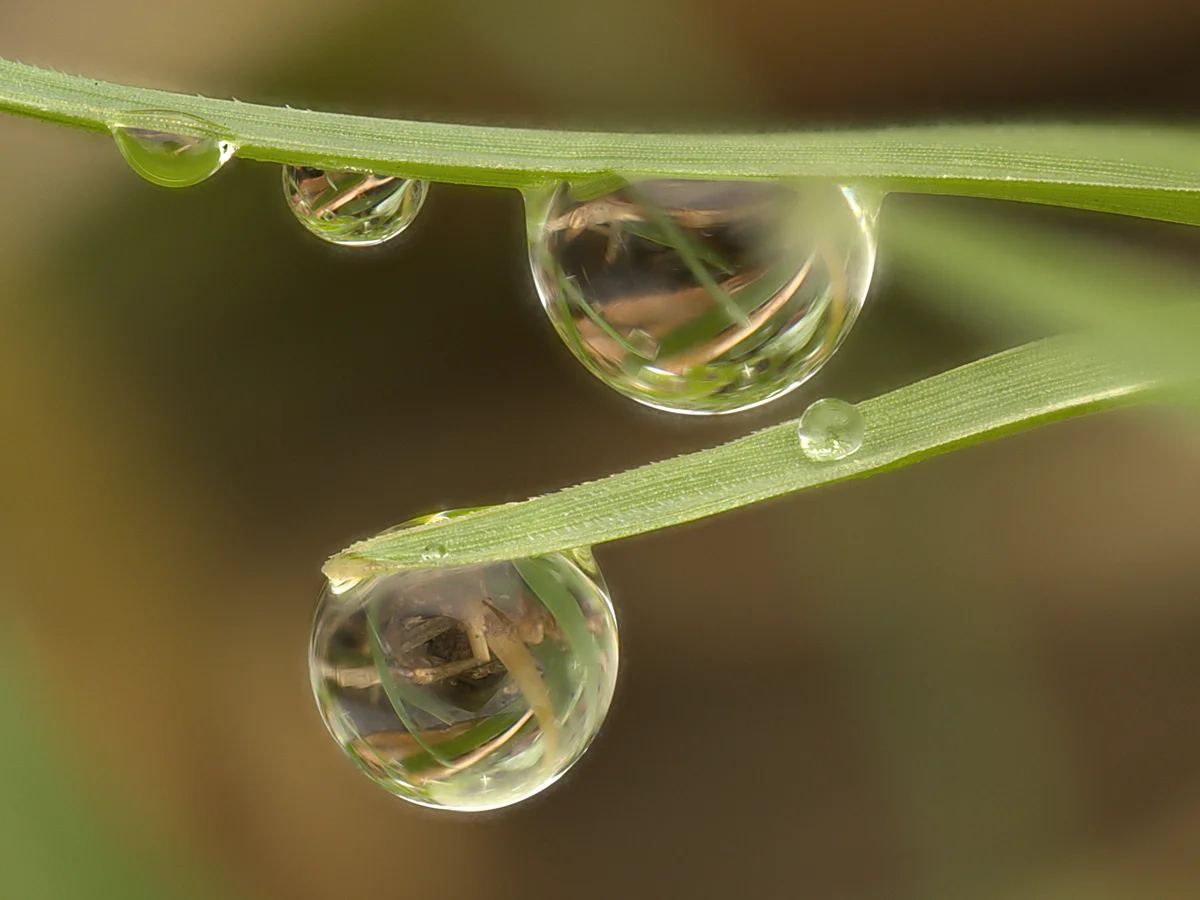
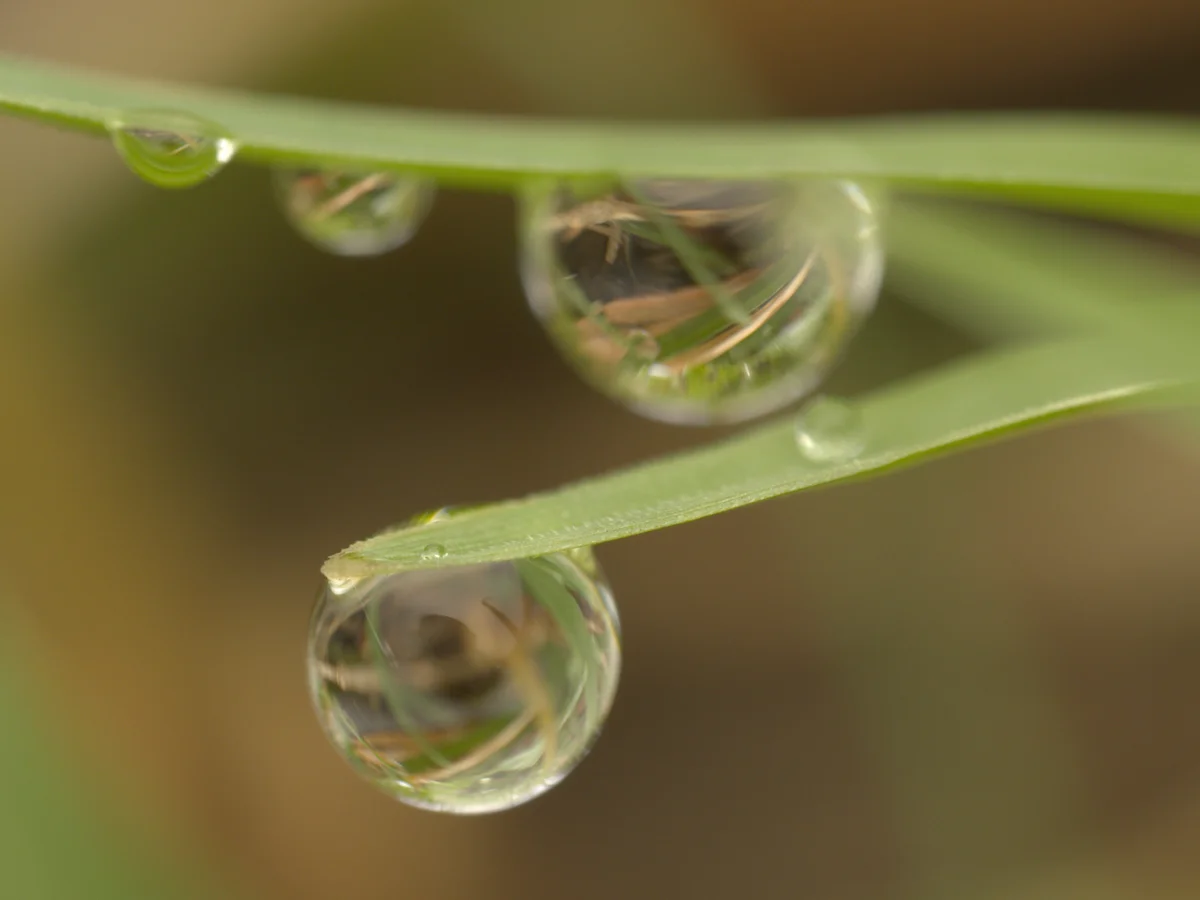
What is focus stacking?
Try a close-up of an insect, a flower, or a coin and you hit macro photography’s central problem right away. Only a sliver of the subject comes out sharp. The eye is crisp but the antennae are a blur. Focus a bit further back and the antennae snap in, but now the eye’s gone soft. One photo can’t hold the whole subject in focus.
Focus stacking gets around that. Rather than fight for everything in a single frame, you shoot a series of photos, each focused a little deeper than the last, front of the subject to back, until you’ve covered all of it. Then software combines them. It keeps the sharp, in-focus parts of each frame and throws away the rest, and you end up with one image that’s sharp all the way through.
That’s how you get those detailed shots of jumping spiders, snowflakes, and watch movements where every surface is in focus at once. In a single exposure it can’t be done. Stacking is the workaround.
Why macro photography needs it
Depth of field is the zone of acceptable sharpness in front of and behind your focus point, and it shrinks fast as you increase magnification. Shooting a landscape, that zone might run from a nearby fence to the horizon. At life-size macro, it can be a fraction of a millimetre, thinner than a sheet of paper. Focus on a beetle’s eye and its own forehead is already blurred. Nothing’s wrong with your lens or your technique. It’s just optics. The closer you get, the thinner the sharp slice becomes.
The obvious move is to stop down, f/16, f/22, further. It helps for a while and then it hurts. Small apertures do increase depth of field, but they also bring diffraction, where light bends around the aperture blades and softens fine detail across the whole frame. At macro distances the effective aperture is smaller still, so diffraction shows up early. Past a certain point you’re trading a shallow-but-sharp image for a deep-but-mushy one. There’s often no aperture that gives you a whole insect in crisp focus. That’s the dead end stacking is built for. You shoot each frame at the lens’s sharpest aperture and get your depth from the sequence instead.
How focus stacking works
A finished stack comes out of two separate stages. First you capture a set of frames that between them cover the whole subject in focus. Then you merge them on a computer (or sometimes in-camera). The capture stage is focus bracketing. The merge is the stacking itself. Here’s the workflow start to finish:
- 1. Set up something stable. Ideally a tripod or focusing rail, but you can also do it handheld, especially if you can stabilize yourself against a nearby tree, rock, wall, etc. Pick your lens’s sharpest aperture, usually somewhere around f/4 to f/8, not its smallest.
- 2. Lock exposure and lighting. Go full manual, and set a manual white balance too, so every frame in the run matches.
- 3. Shoot the bracket. Fire a series of frames, shifting focus a small, consistent step each time. Start a touch in front of the nearest point you want sharp and end a touch behind the farthest. Could be eight frames, could be two hundred or more, depending on the subject.
- 4. Load the sequence into stacking software. Dedicated desktop tools (apps like Macro Studio are built for this) handle the next two steps for you.
- 5. Let it align. The software first registers the frames against each other, correcting the small shifts in framing and magnification that focusing causes (that shift is called focus breathing) and the subject movement caused by an unsteady camera.
- 6. Let it blend. It works through every frame, finds where each is sharpest, and merges those regions into one composite.
- 7. Retouch and finish. Check for blending artifacts, halos on edges, ghosting from anything that moved. Fix what needs fixing, then process the final image like any other photo.
Focus bracketing vs. focus stacking
Focus bracketing is the capture technique: shooting a run of frames with focus shifted slightly between each. Focus stacking is the software step that merges that run into one sharp image. You bracket with the camera. You stack on the computer. Bracket to get the frames, stack to get the photo.
The two terms get swapped constantly online and it causes real trouble. People buy a camera with “focus bracketing” and expect a finished stacked image to drop out of it. Or they assume they need special gear to stack when their ten-year-old body can bracket by hand just fine. So let’s split the capture half off. There are two ways to shoot a bracket.
Built-in (automated) focus bracketing
Plenty of modern cameras have a bracketing mode built in, including many Canon, Nikon, OM System/Olympus, Fujifilm, and Sony bodies. You tell the camera how many frames and how big a focus step, focus on the nearest point, and press the shutter once. It fires the whole burst on its own, nudging focus forward by your set increment between shots. Fast, consistent, easiest way to capture a stack. The step never drifts the way a hand does.
One thing worth knowing: a few cameras (OM System/Olympus among them) also offer in-camera focus stacking, which blends a limited number of frames into a finished composite right in the body. That is real stacking, not just bracketing. But it’s capped on frame count, resolution, and control next to desktop software, so most people use it as a quick preview and keep the individual frames for a proper stack later.
Manual focus bracketing
No bracketing mode, no problem. Photographers were stacking long before cameras did the capture for them. You build the bracket by hand, one of two ways. Turn the focus ring a small amount between shots, working steadily front to back. Or leave focus fixed and move the whole camera forward in small steps, sometimes on a focusing rail that advances it a millimetre or less per turn. Some people bracket handheld: burst mode on, focus fixed, and lean slowly and smoothly into the subject while it fires, letting the drift do the focusing. Manual bracketing is slower and takes practice to get the spacing even. It works with any camera and any lens ever made.
Here’s the part people miss. Both capture methods give you the same thing, a folder of frames, each sharp in a different slice. Neither one hands you the finished photo. A built-in bracketing mode doesn’t skip stacking. It just automates the shooting. Automated burst or twenty patient turns of a rail knob, either way the sequence still has to be aligned and blended in software before it’s a single front-to-back-sharp image.
Tips for better stacks
- ✓ Overlap your slices generously. Each frame’s sharp zone should overlap the next one’s. Gaps in coverage turn into soft bands in the final image, and no software fixes those. When in doubt, smaller step, more frames.
- ✓ Start before the subject, end after it. Focus a little in front of the nearest detail you want sharp and shoot a few frames past the farthest. Extra frames cost seconds. A stack that clips the tip of an antenna costs a reshoot.
- ✓ Lock exposure. Full manual, fixed aperture, shutter, ISO, and white balance, so frames blend without brightness or color seams.
- ✓ Keep the light steady. Drifting cloud, flickering LEDs, or a flash that varies in output frame to frame will show in the blend. Continuous stable light, or a consistent flash setup, makes alignment and blending much cleaner.
- ✓ Stabilize everything. While you can definitely get good results with handheld shots, a tripod is better. A rail helps at high magnification. Use a remote release, cable, or the self-timer so pressing the shutter doesn’t jog the setup.
- ✓ Pick still subjects and deal with wind. A flower swaying a few millimeters between frames can wreck the alignment. Shoot indoors when you can. Outdoors, block the breeze, work in the calm of early morning, or clamp the stem out of frame.
- ✓ Watch for movement during the burst. Legs shift, wings twitch, dew drips. If something moves partway through, you may need to start over, though focus stacking software like Macro Studio has features like Retouch to help you correct many of these artifacts.
- ✓ Shoot RAW. You’re pushing these files through alignment, blending, and retouching. RAW gives the software the most to work with and gives you the most room in the finish.
- ✓ Use your lens’s sweet spot. The whole point of stacking is you no longer need f/22. Shoot each frame where your lens is sharpest, usually f/4 to f/8, and let the stack supply the depth.
Common questions
- How many photos do I need for a focus stack?
- It depends on magnification, aperture, and how deep the subject is. There's no fixed number. A flower at modest magnification might take 5 to 15 frames. An insect at life size often runs 30 to 100. Extreme magnification work can hit the hundreds. The rule is just that each frame's sharp zone overlaps the next. Too many frames is a minor nuisance. Too few is a failed stack.
- Can I focus stack handheld?
- Yes, up to a point. Hold focus fixed, fire a fast burst, and lean slowly into the subject so the focus plane sweeps through it. Alignment software is surprisingly good at registering the results. Your hit rate is lower than tripod work, so keep the stacks short. It is a genuinely useful field technique, not a substitute for a stable setup when image quality really matters.
- Do I need a macro lens?
- Not necessarily. Stacking works with any lens. People stack landscapes with wide-angles and products with standard zooms. A macro lens just gets you to the high magnifications where stacking stops being optional. Extension tubes or close-up filters on an ordinary lens are a cheap way into the same territory.
- Can my phone do focus stacking?
- Sort of. Some apps can capture a focus-shifted sequence, and a few phones do related tricks internally, but you get little control over step size and frame count, and the small sensor limits the fine detail that makes stacking worth doing. It is a good way to get the idea. For serious results, a camera that shoots a controllable bracket is still the tool.
- Is focus stacking cheating?
- No more than a stitched panorama is cheating for being wider than one frame. Every pixel in a stacked image was actually captured by your camera. Stacking combines real sharpness from real exposures to get past a physical limit of lenses. Scientific and forensic macro imaging leans on it for exactly that reason. Disclose it where accuracy matters, since some nature competitions have rules about composites, but there is nothing dishonest about it.